
CJKU5 BUILD
What does CJKU5 stand for you might ask?
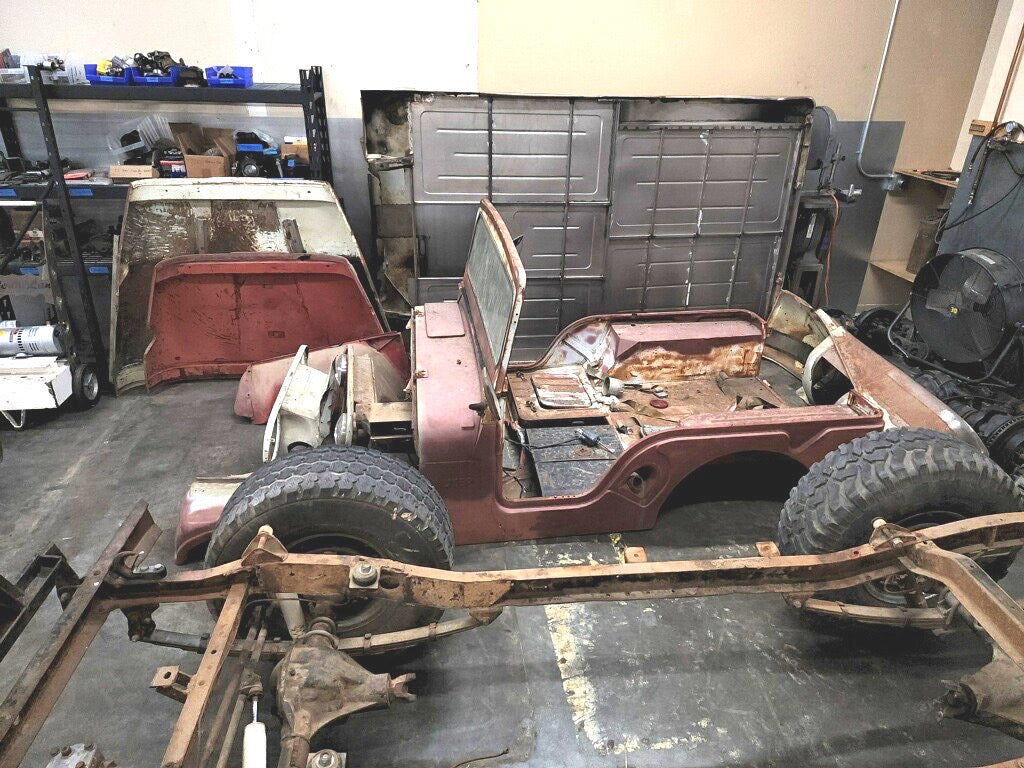
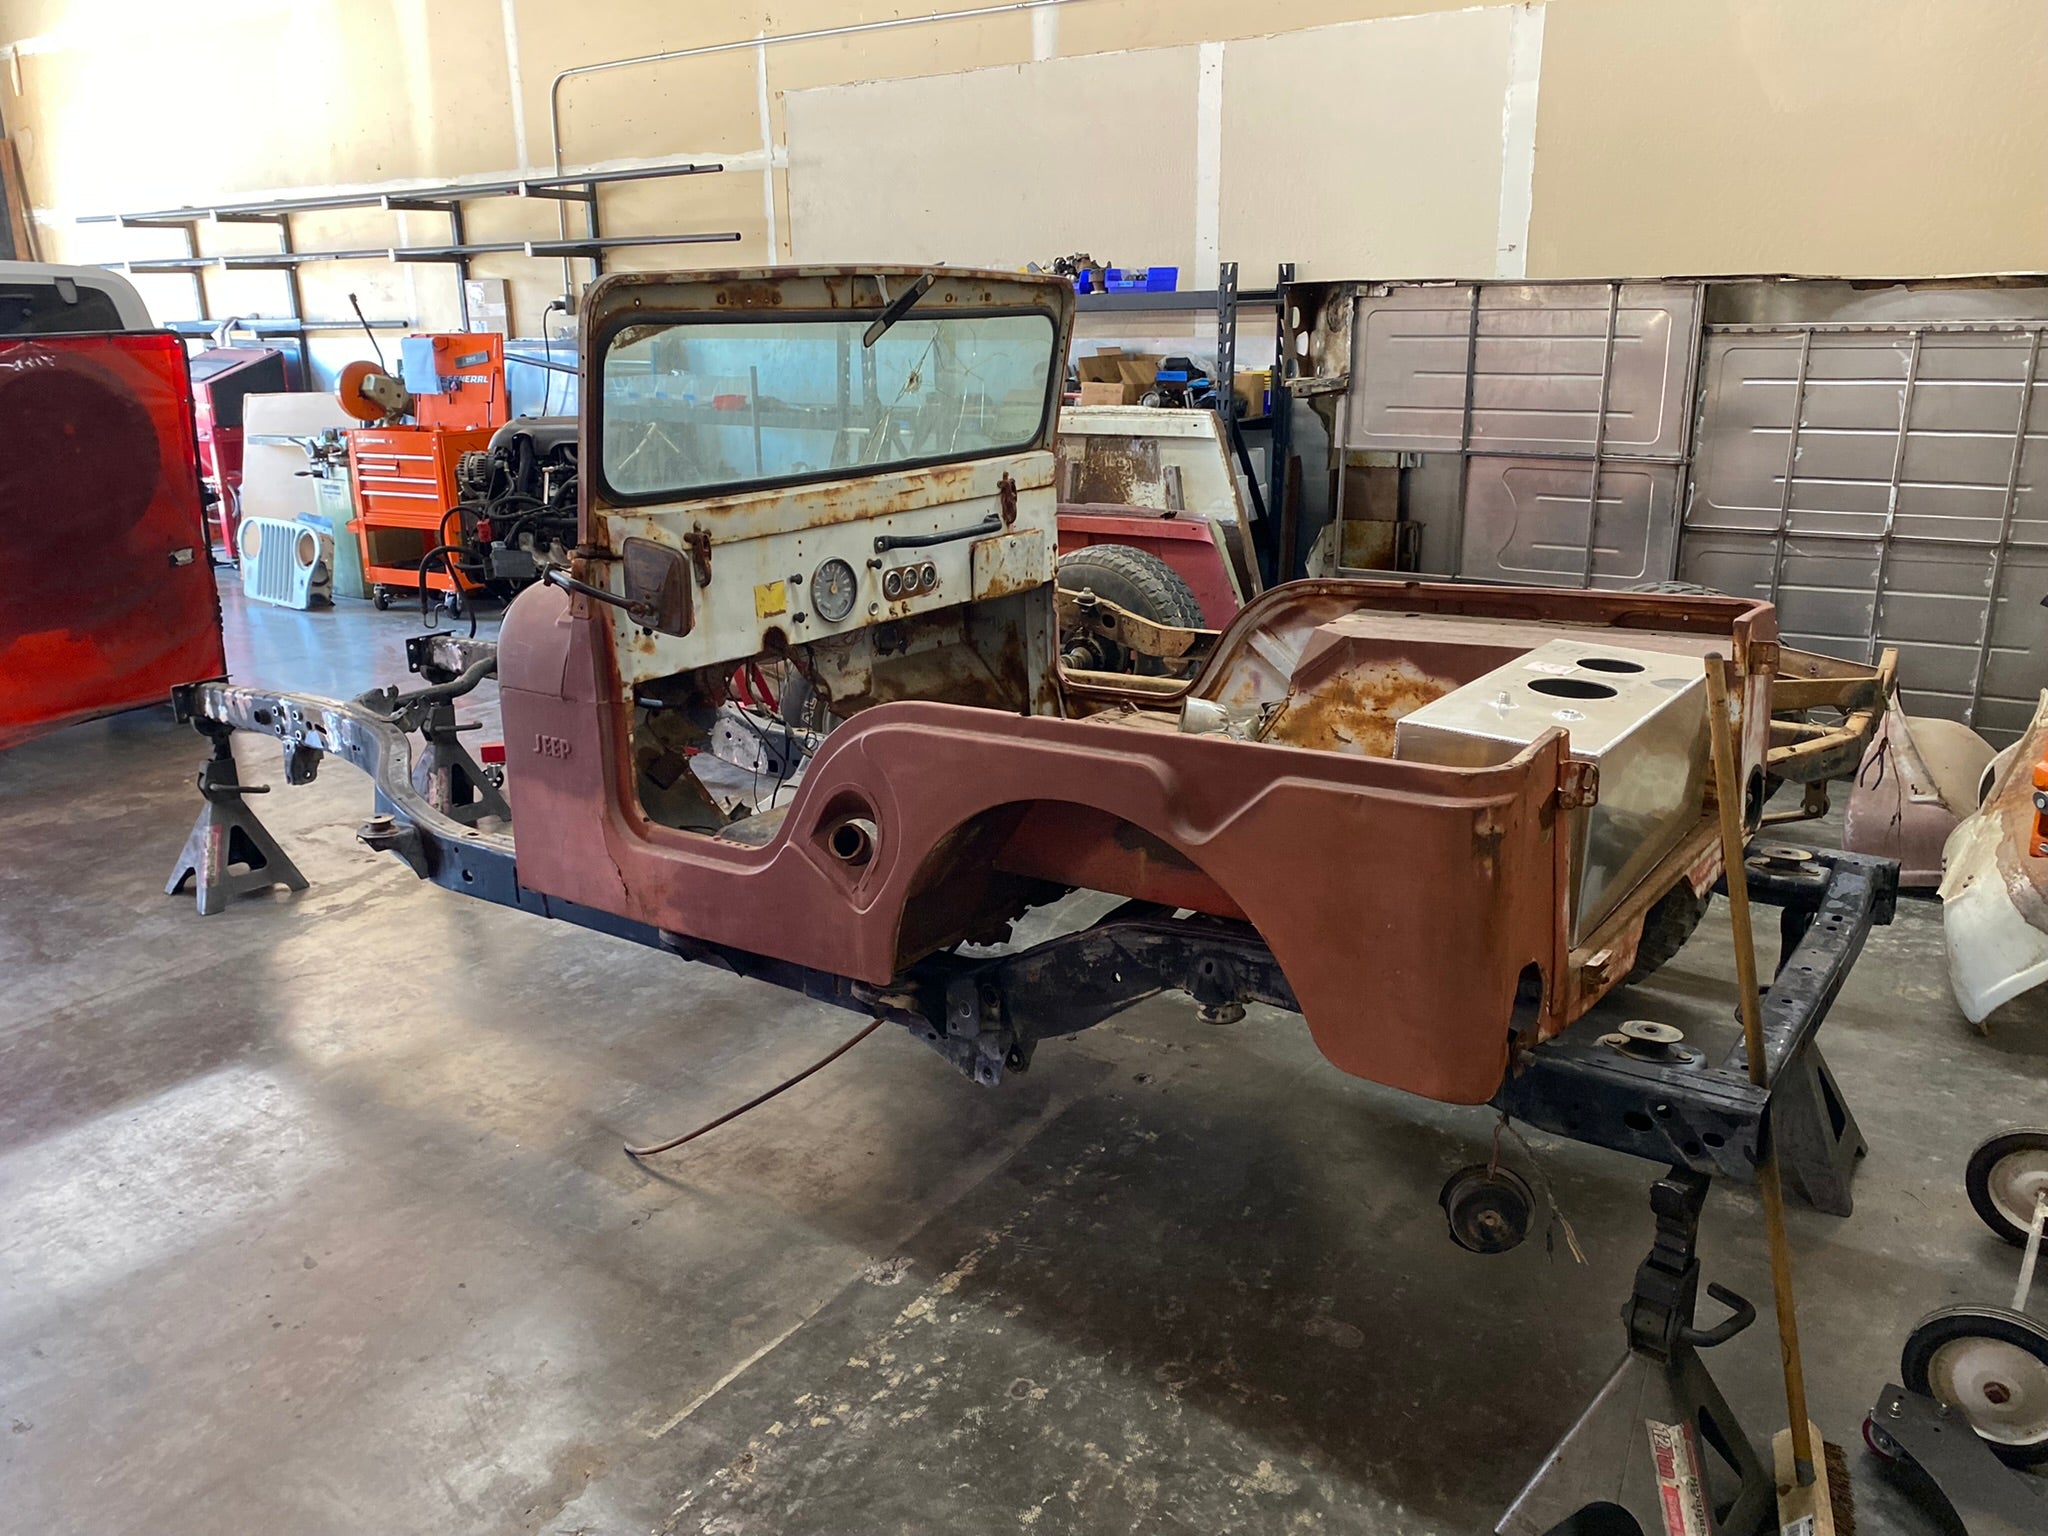
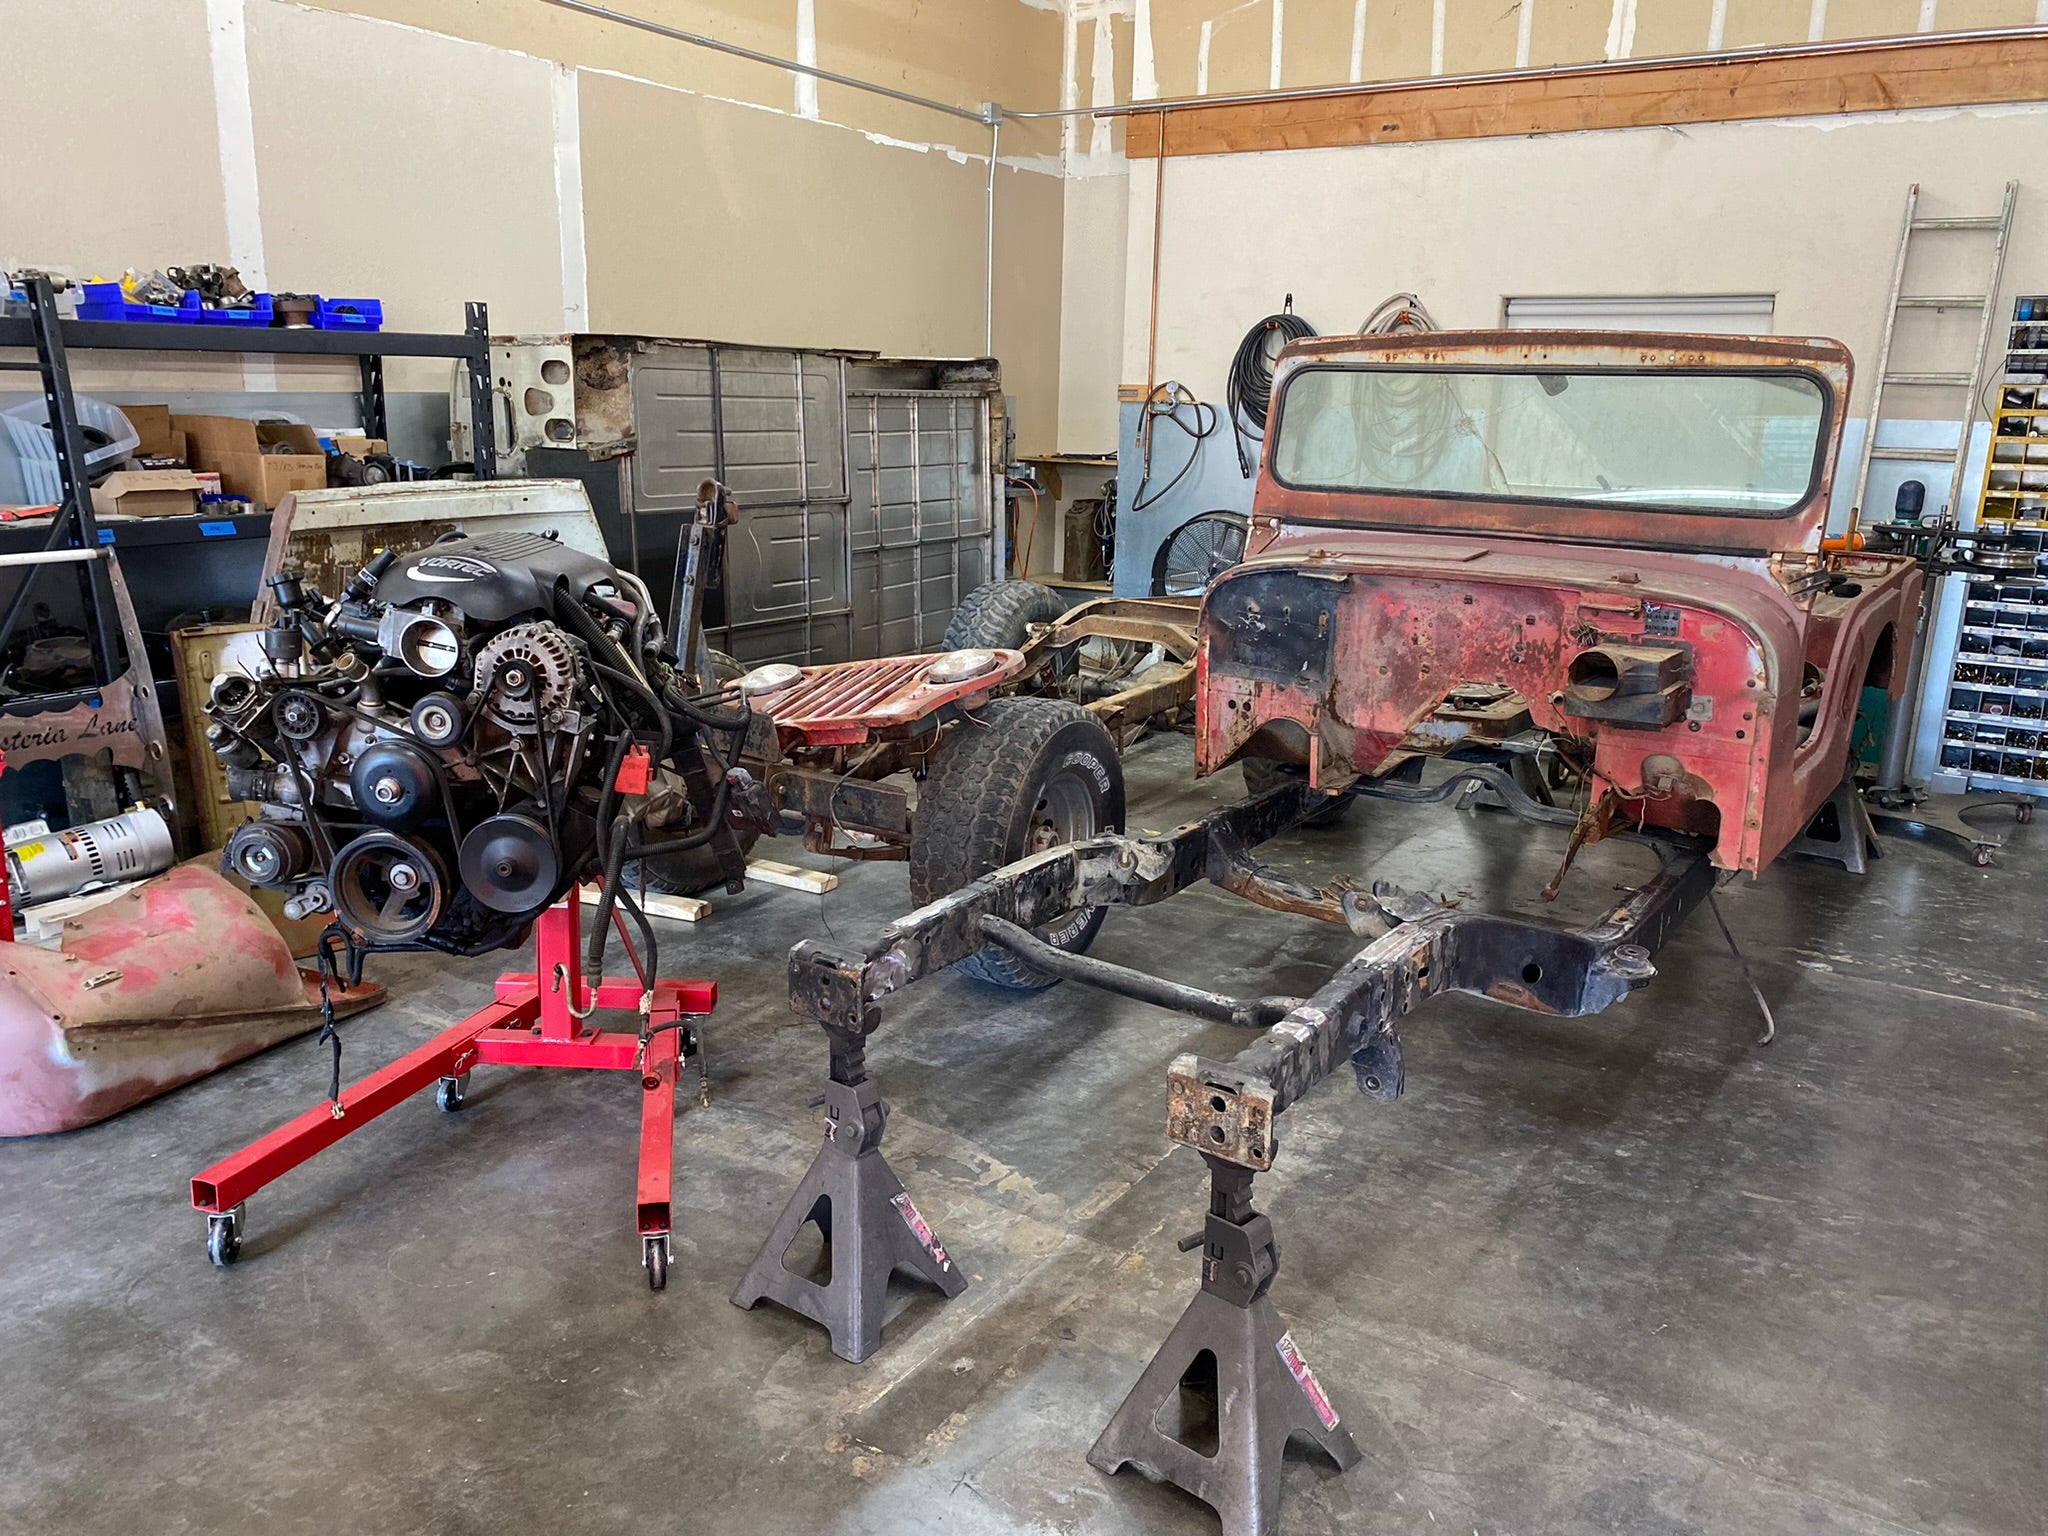
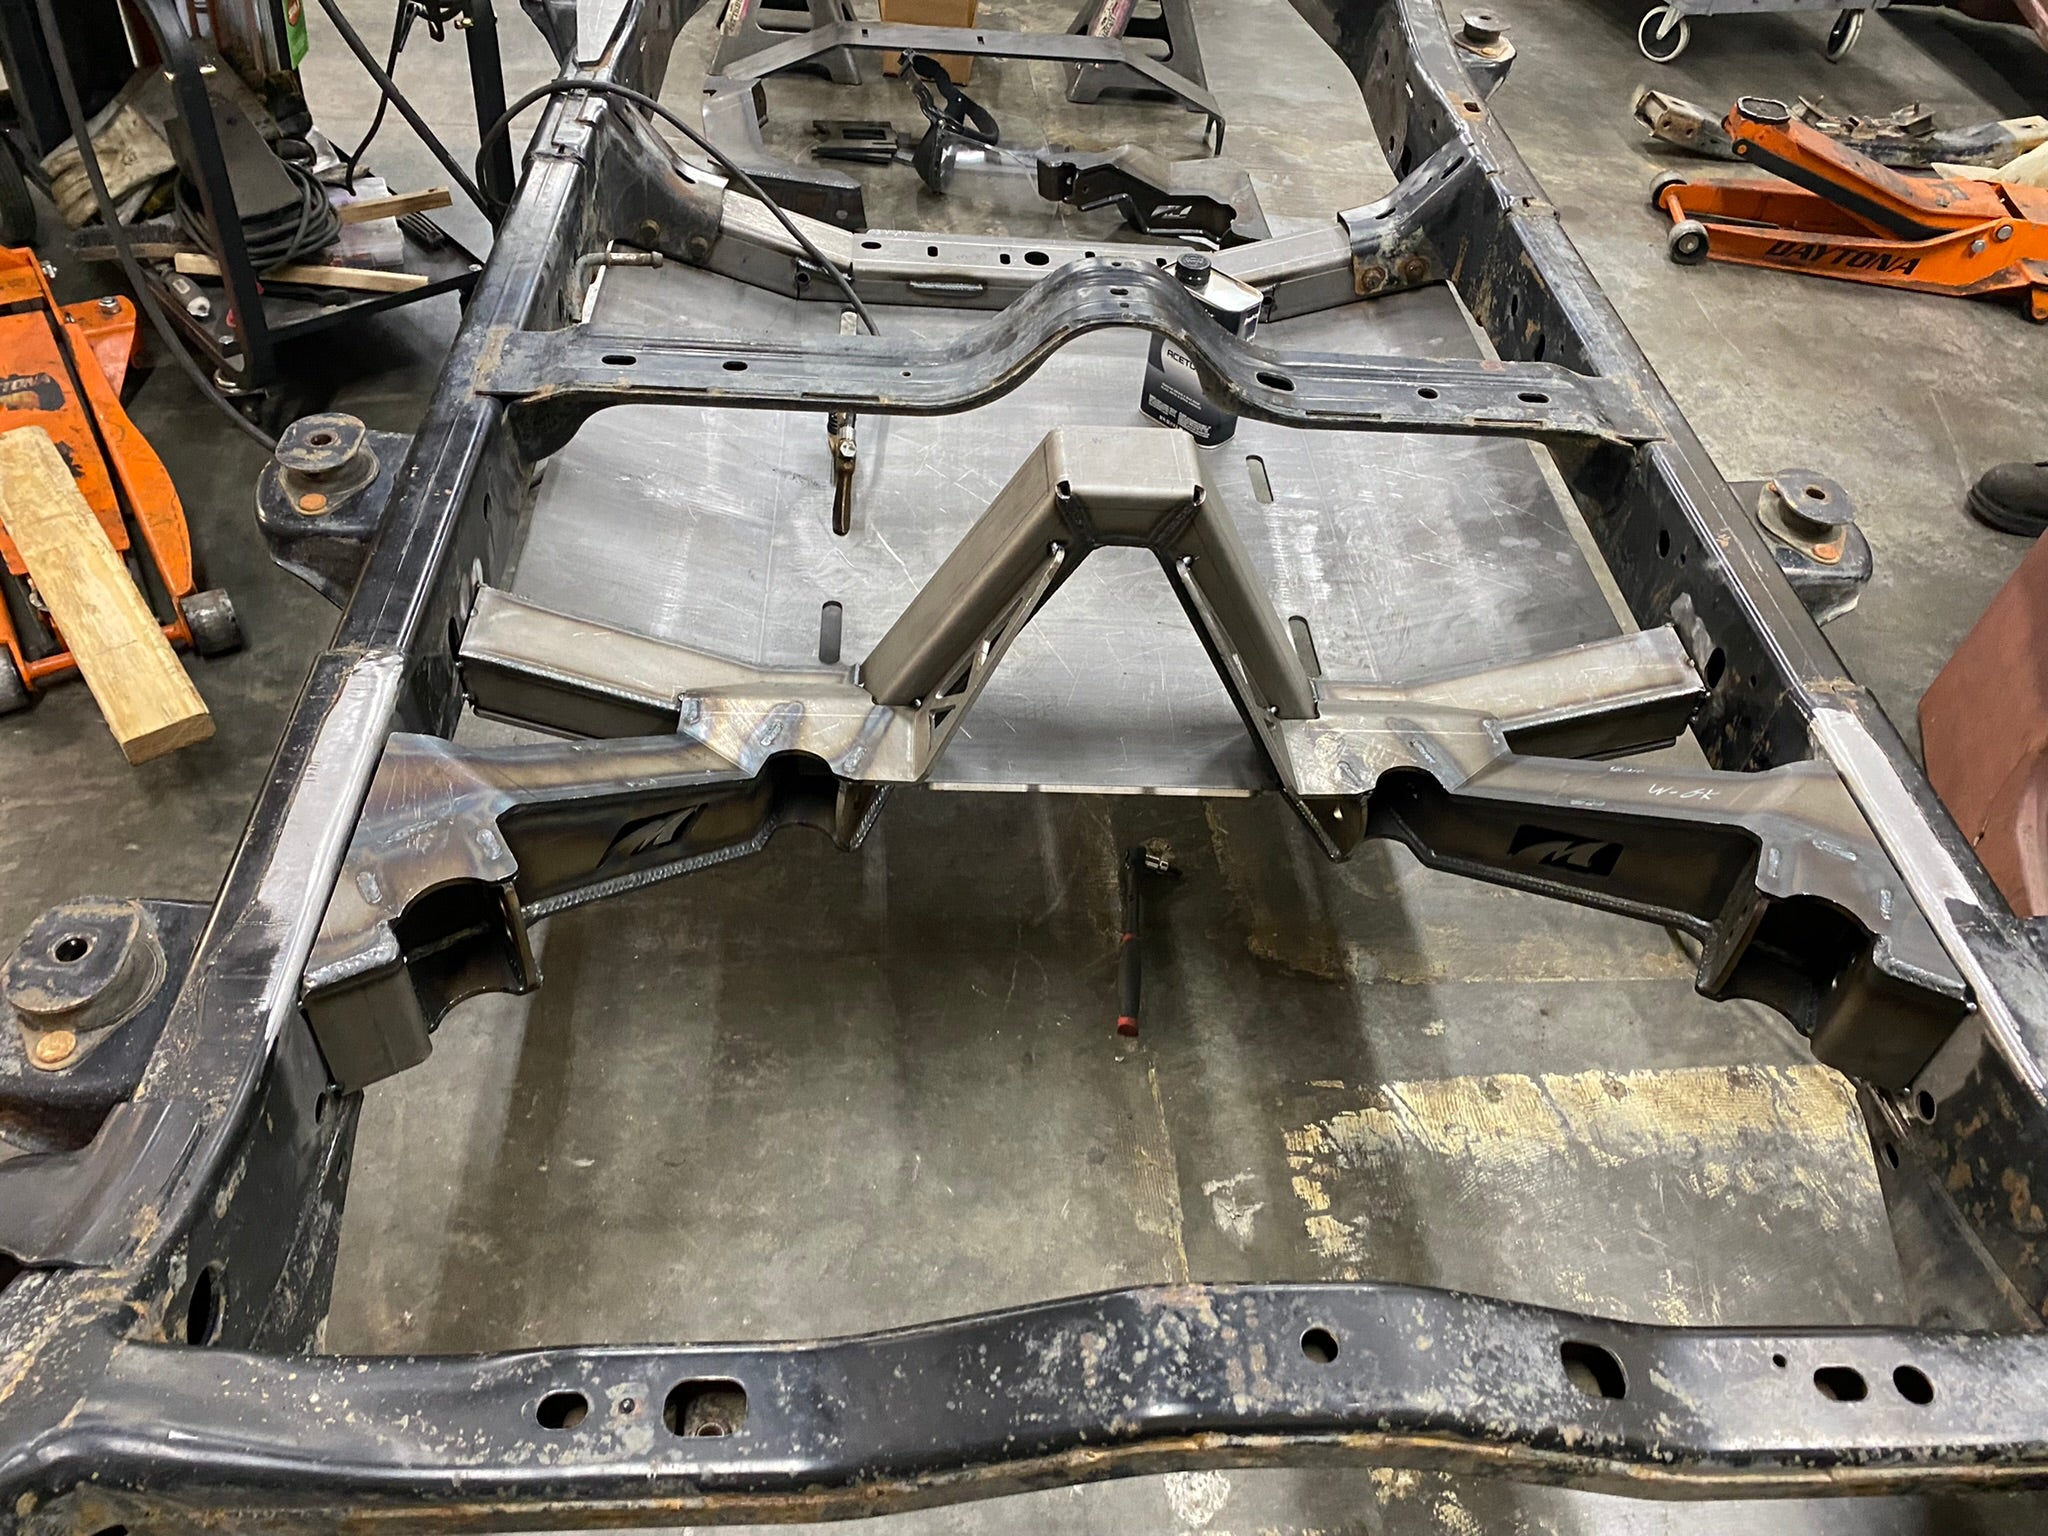
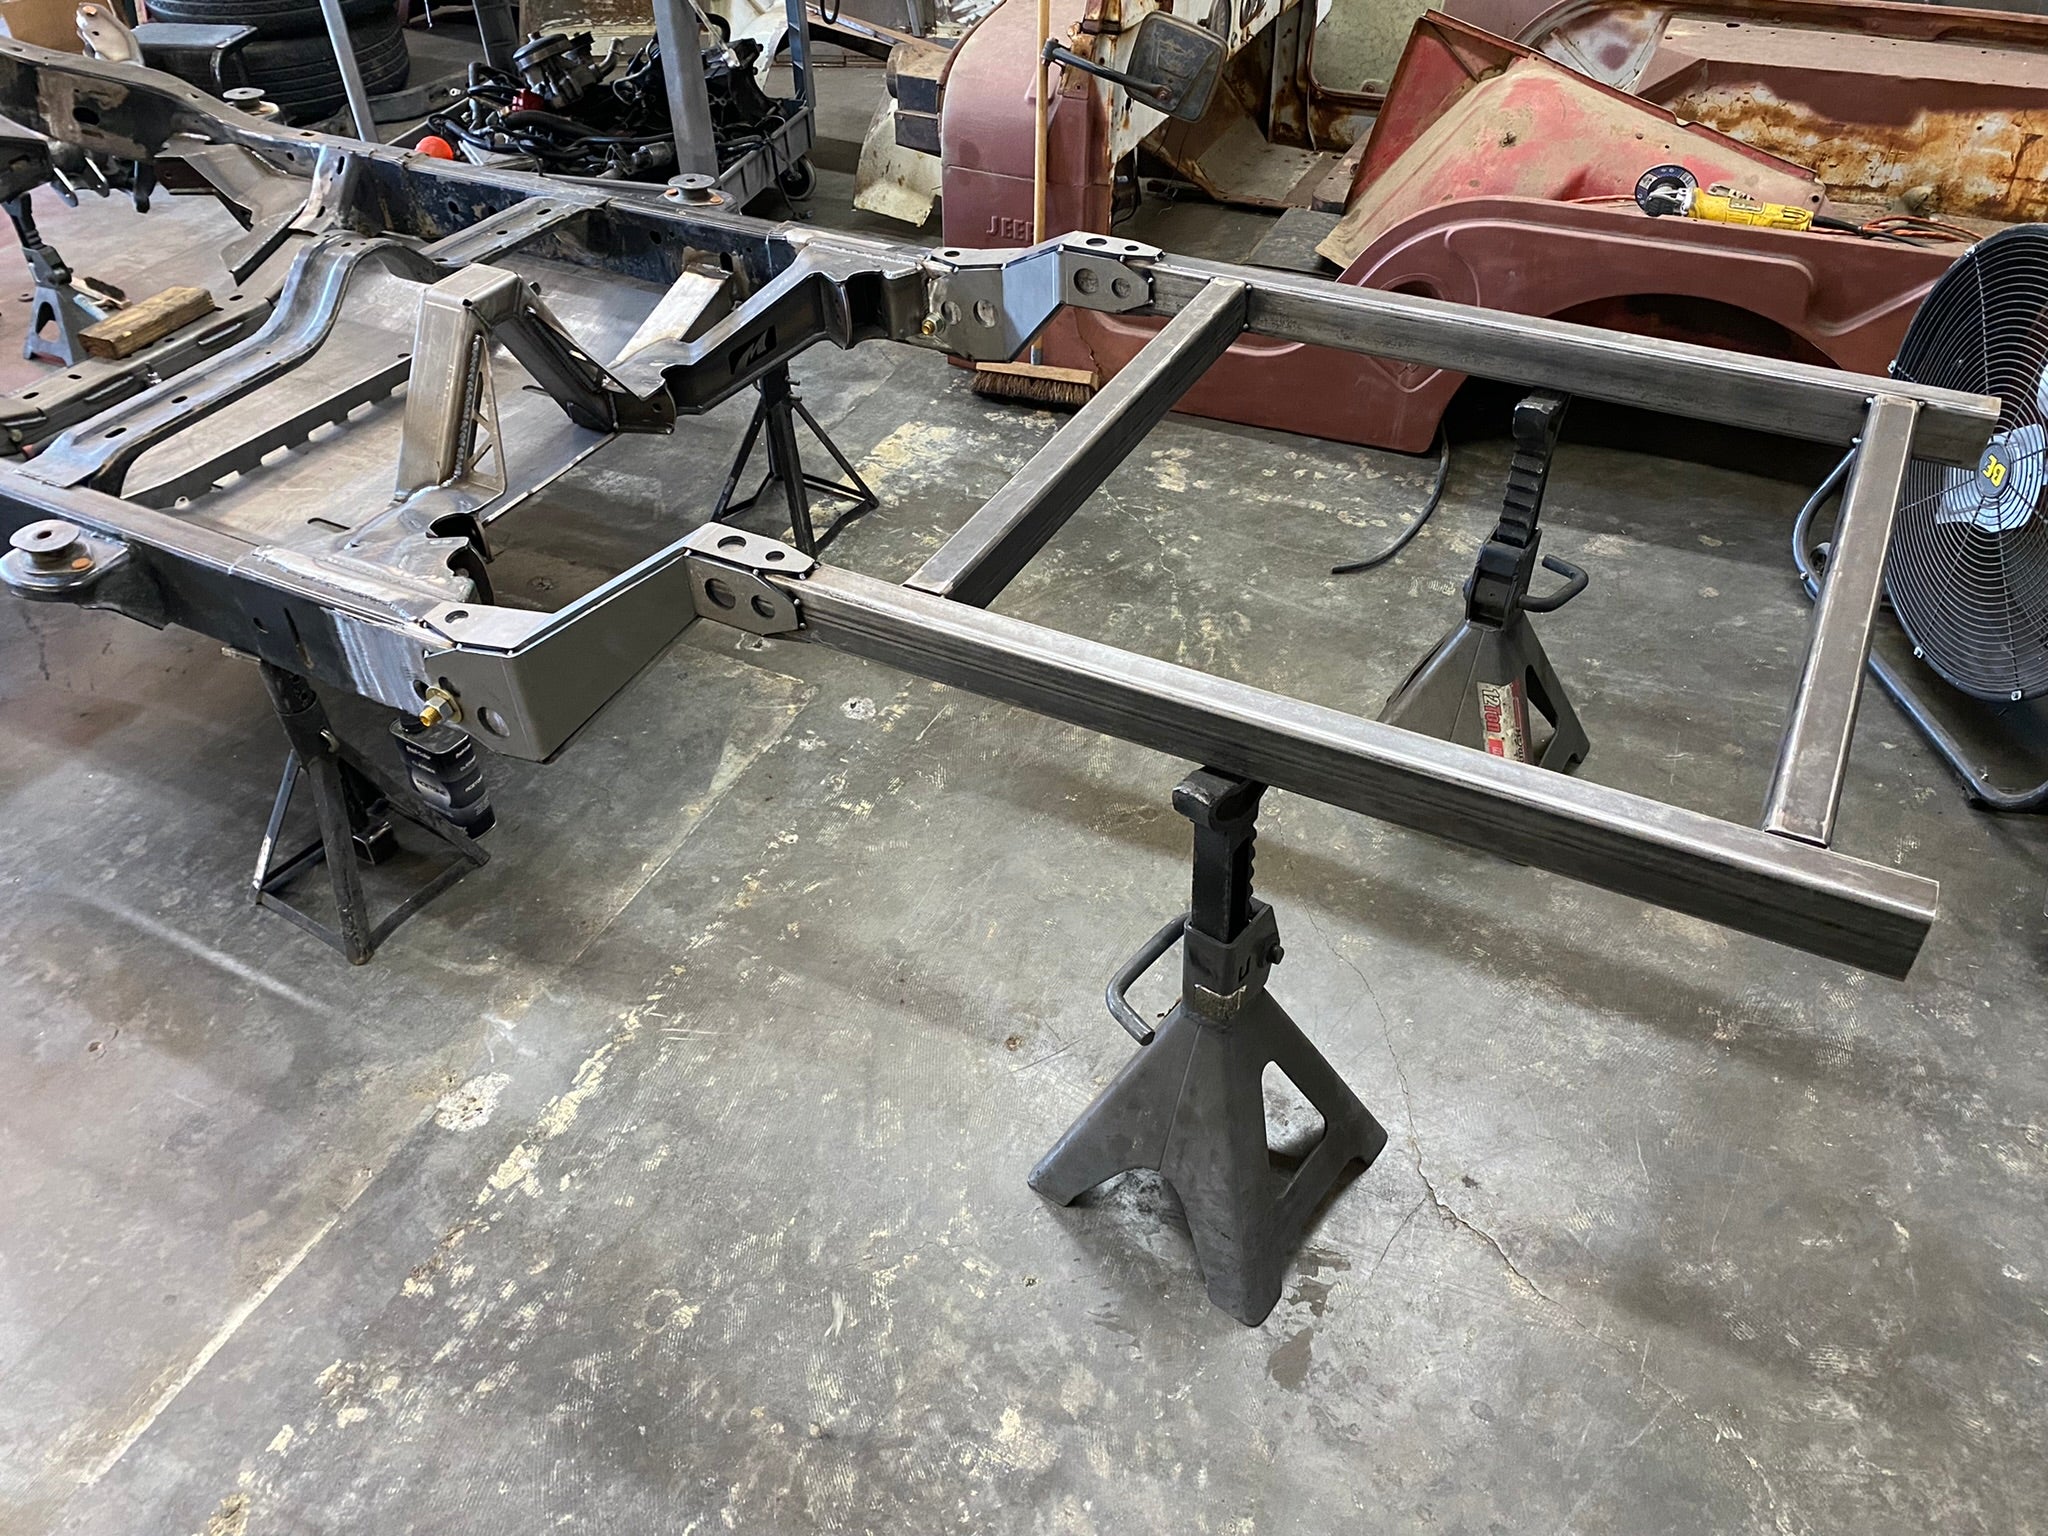
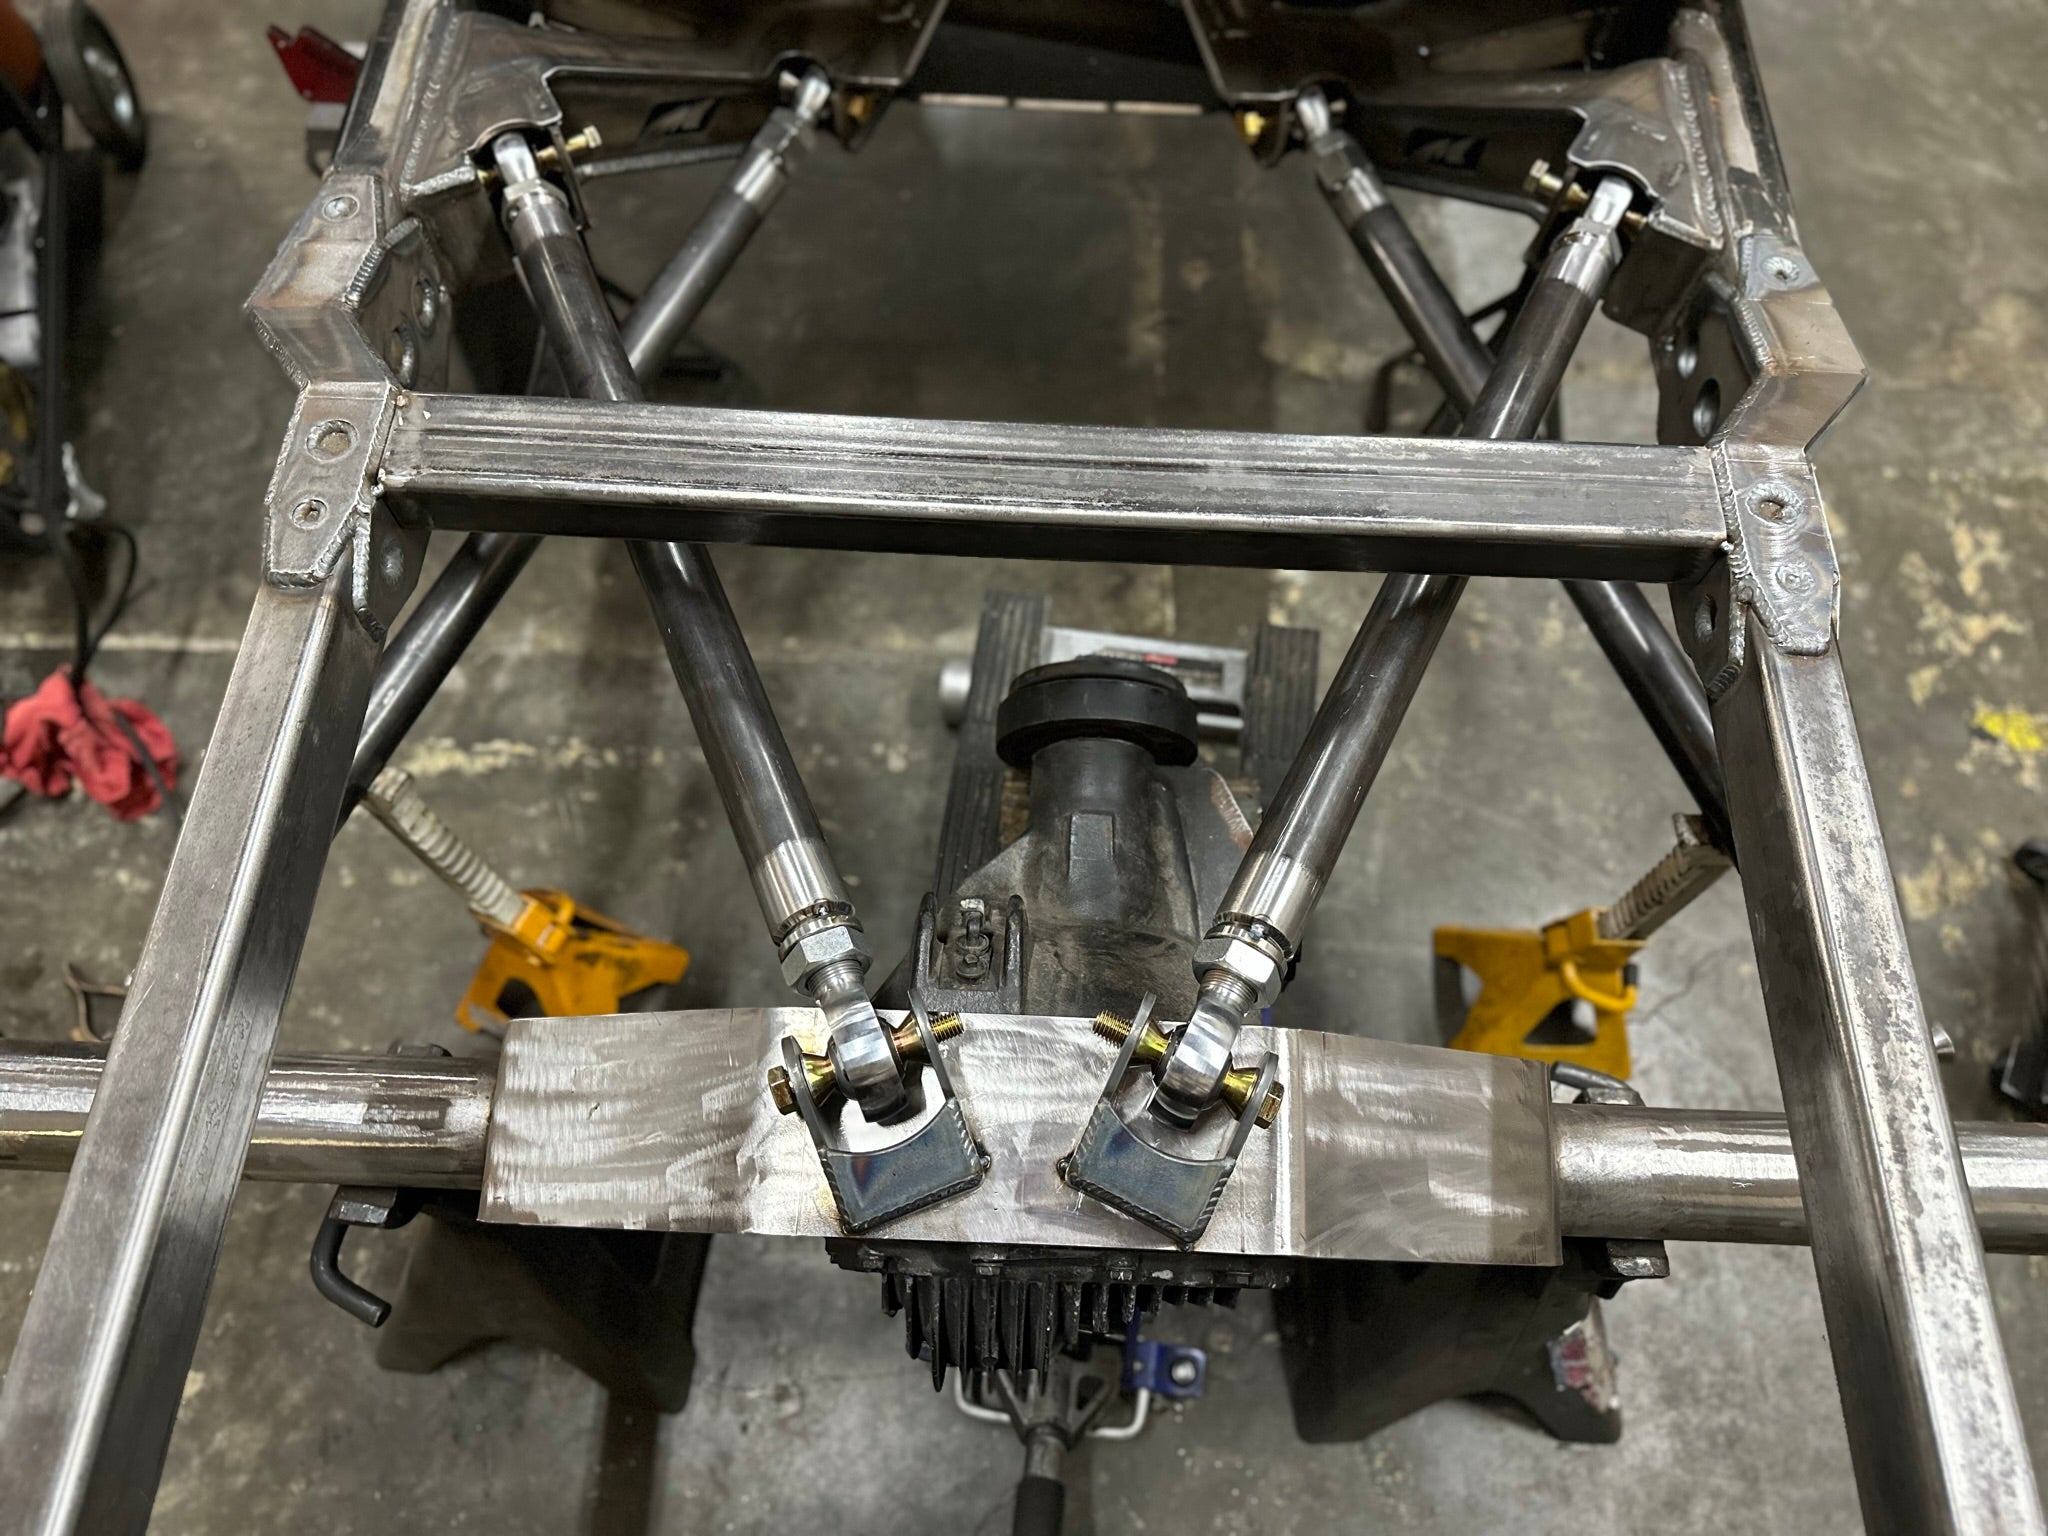
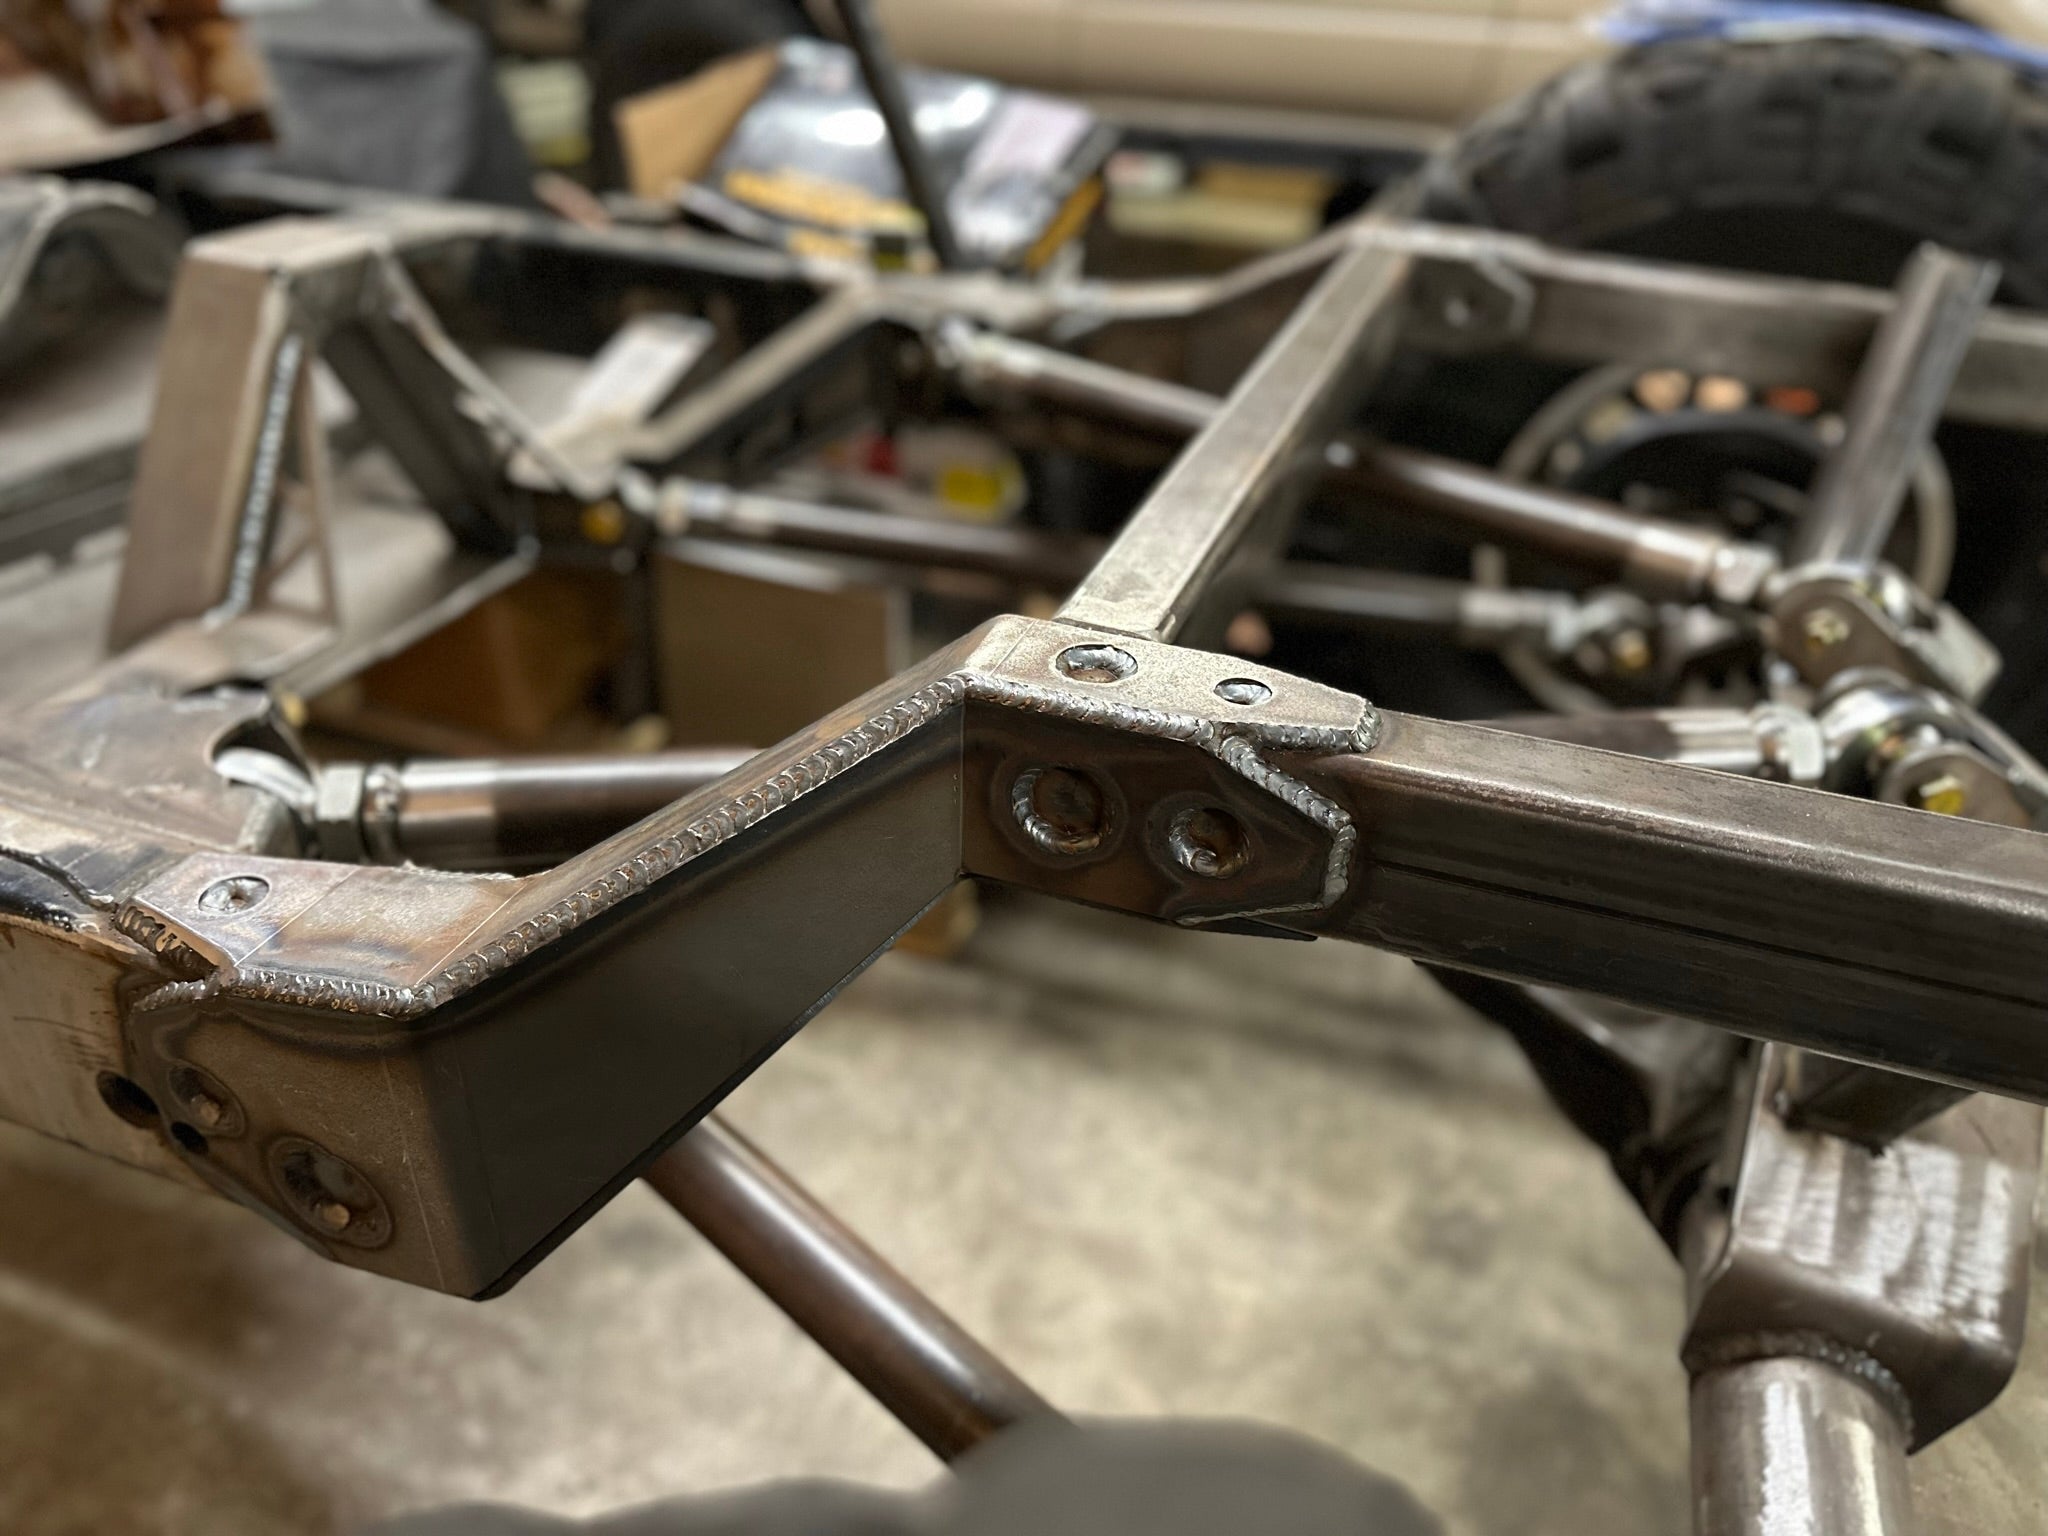
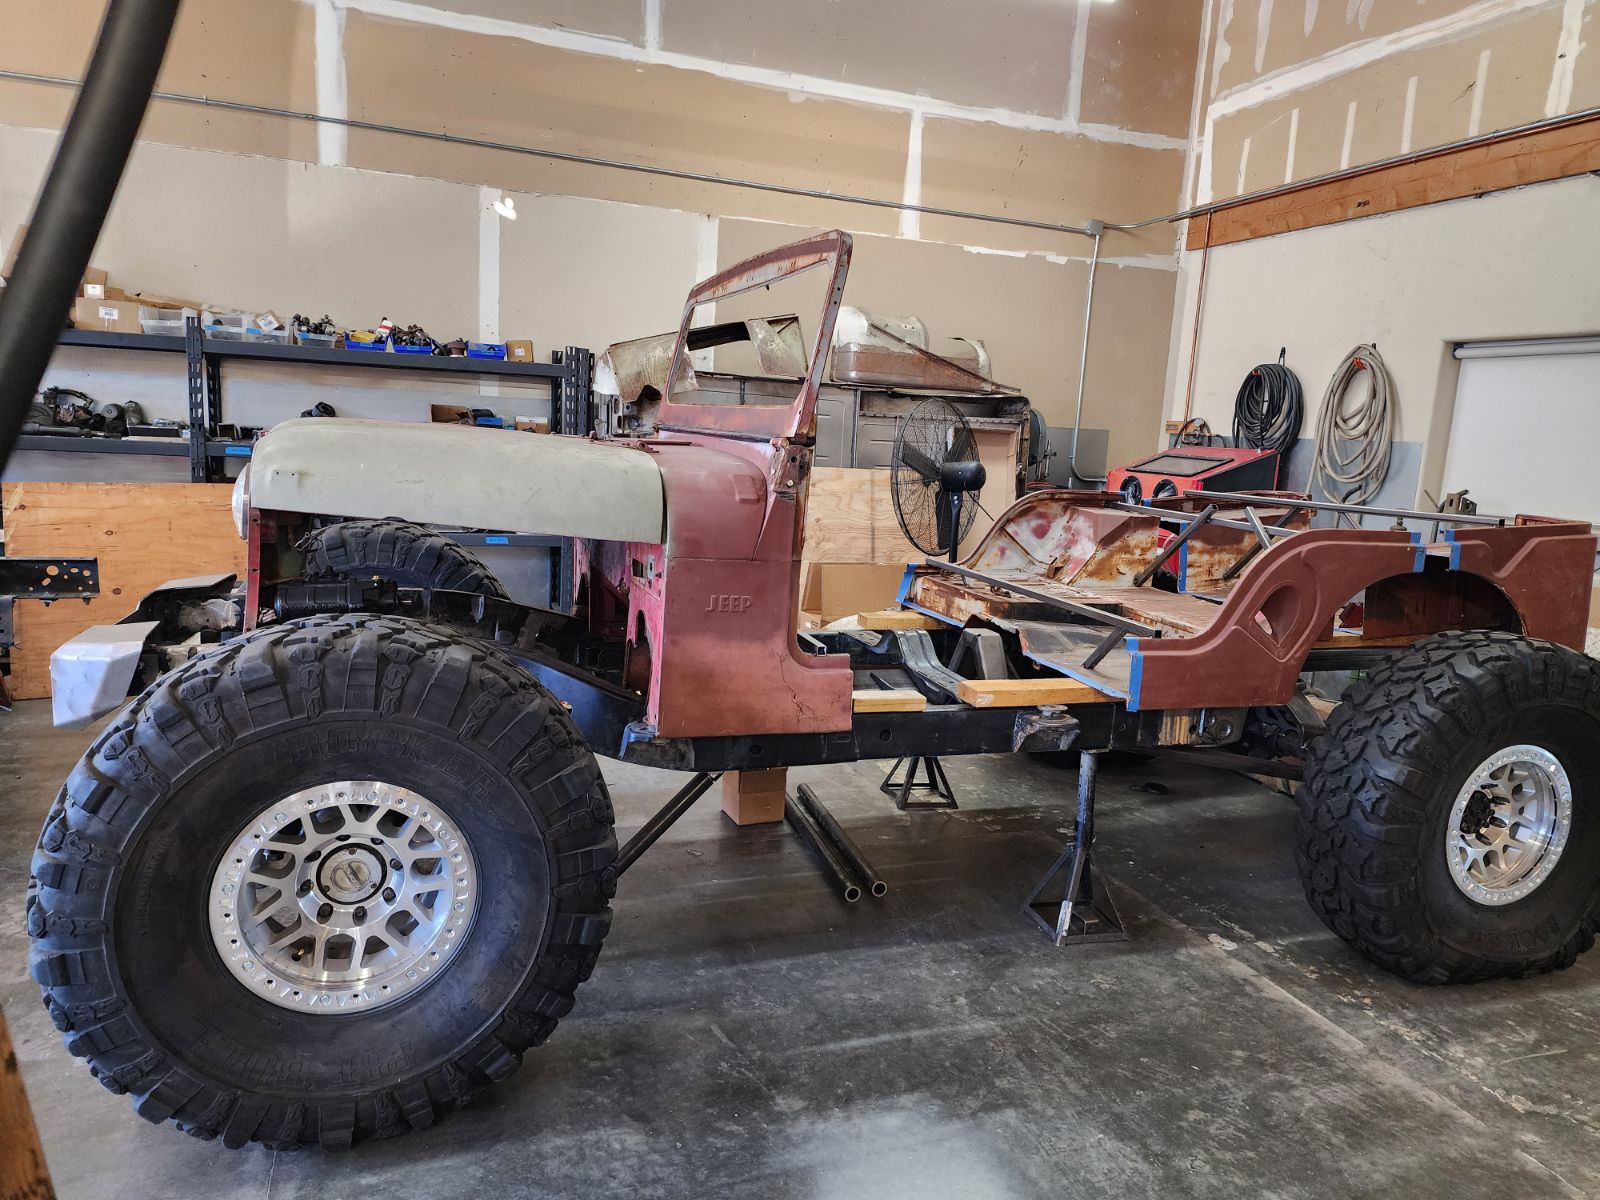
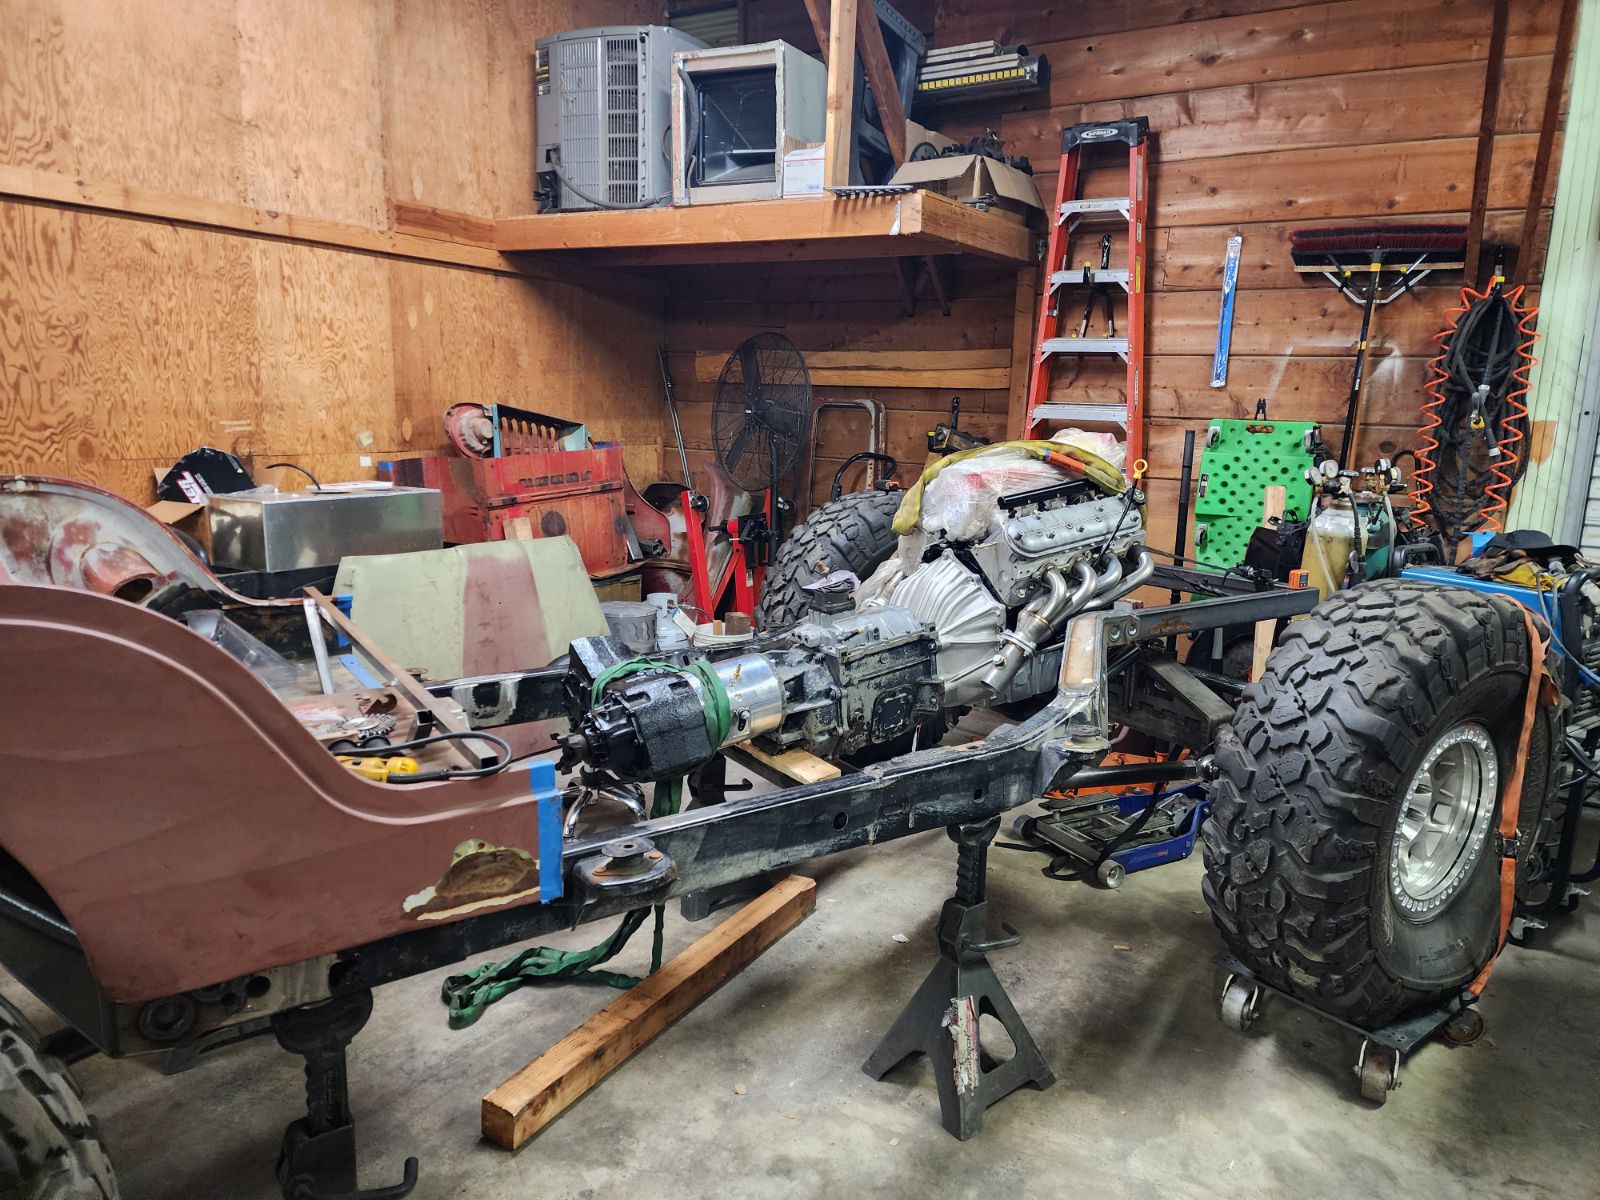
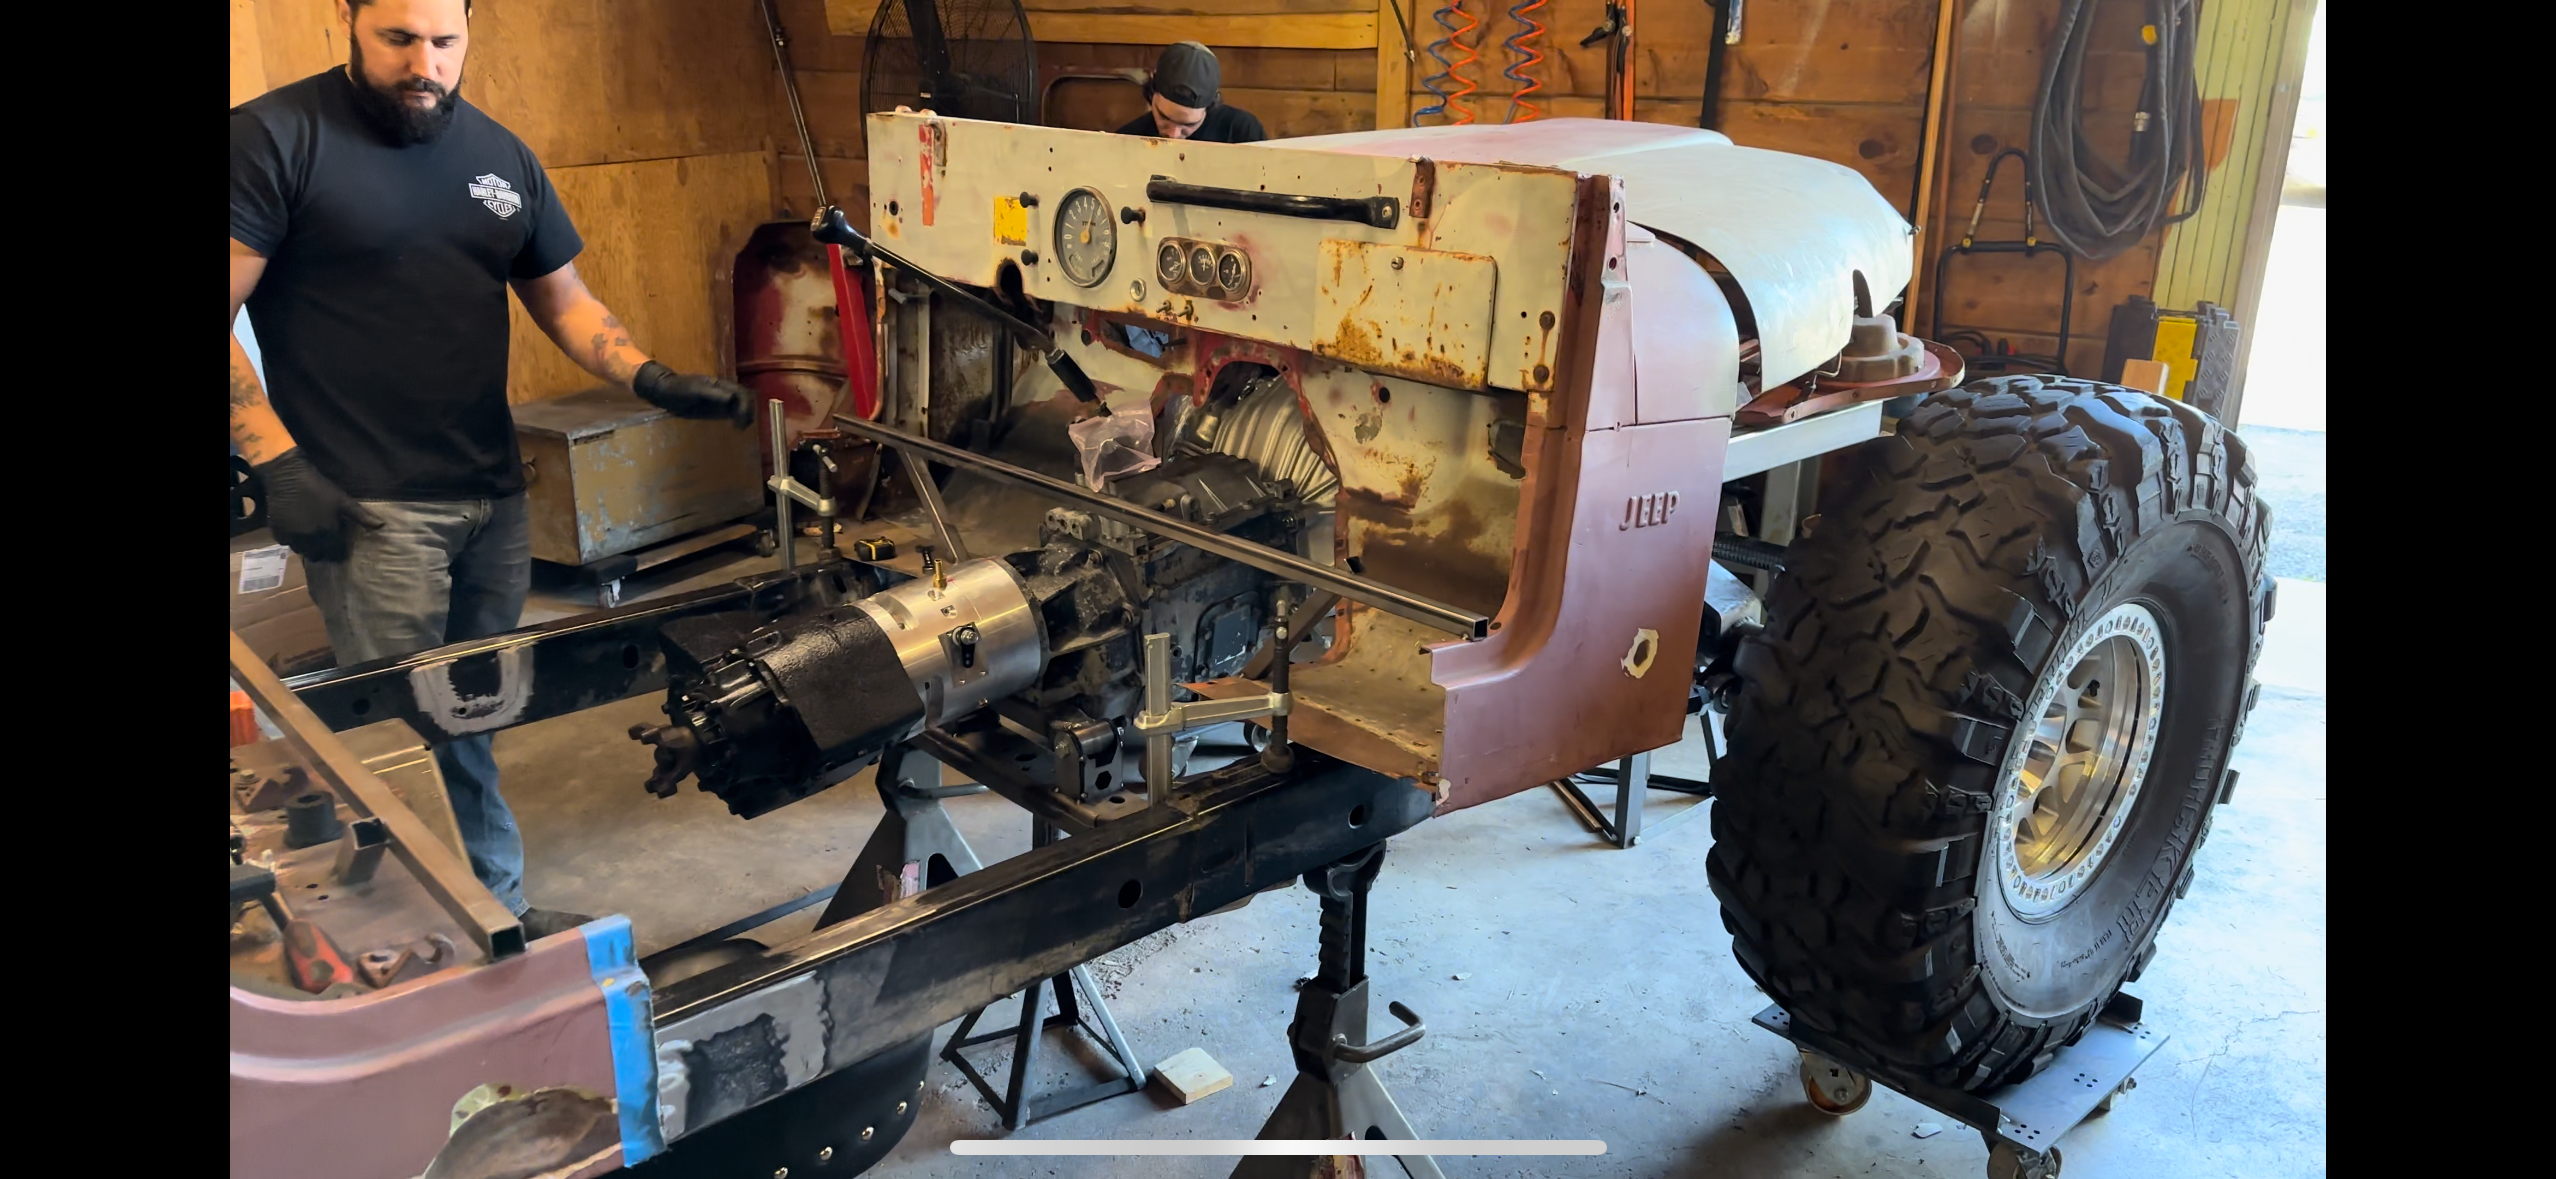
Well, it's a CJ5 body with a JKU frame (modified of course) which is what started the name. BUT there's a whole lot more.
Read below to find out more information about this build. We are working to update this soon with more info and pictures when we have time.
Thanks for checking it out!