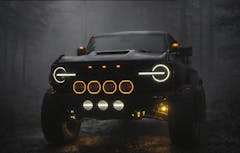
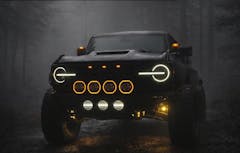
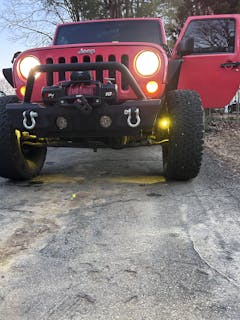
Don't Forget to Add Lights
After you find your mounts make sure to see our collection of "Knuckle Pod Compatible" lights to pick the perfect combination for your rig and guarantee proper fitment.
GateKeeper Off-Road
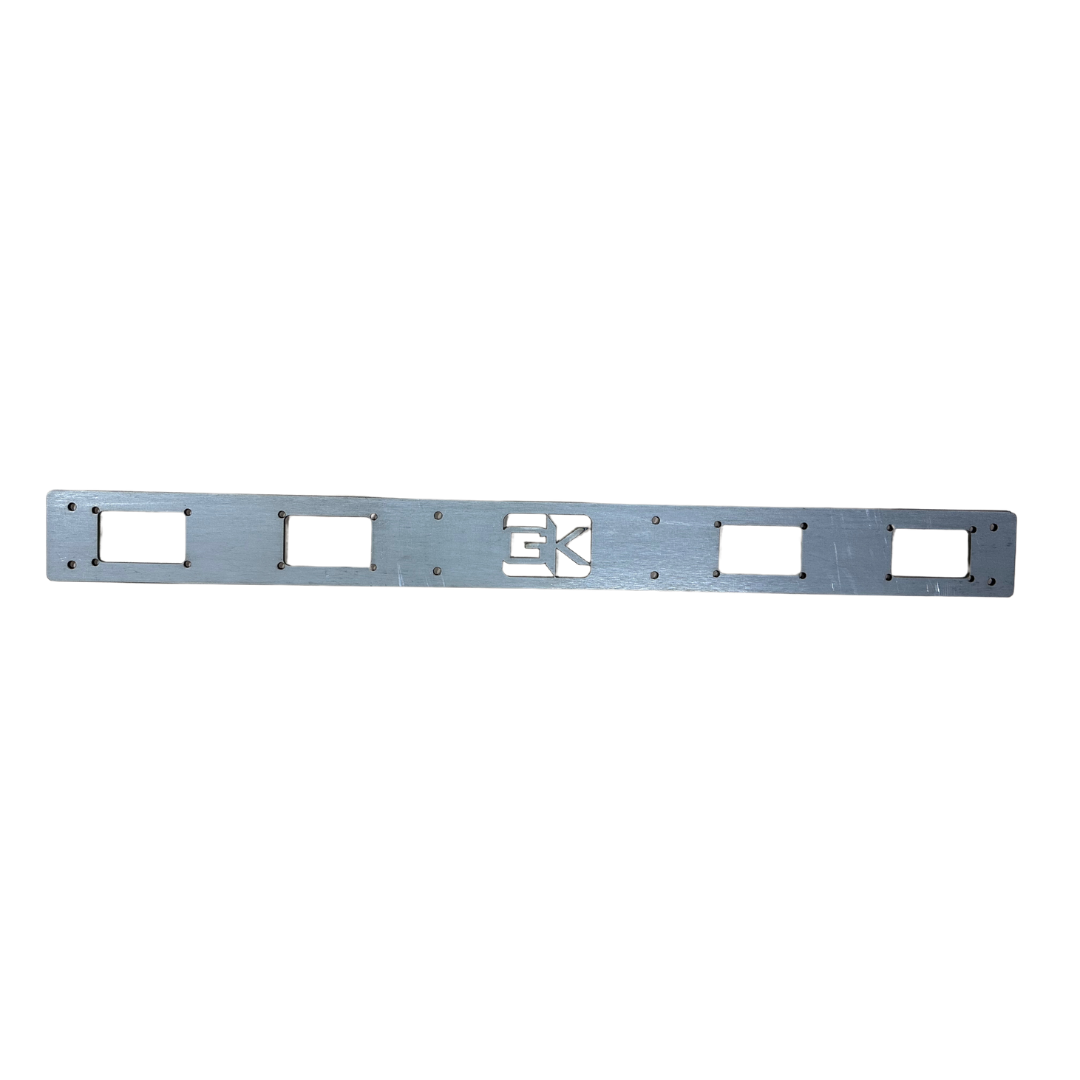
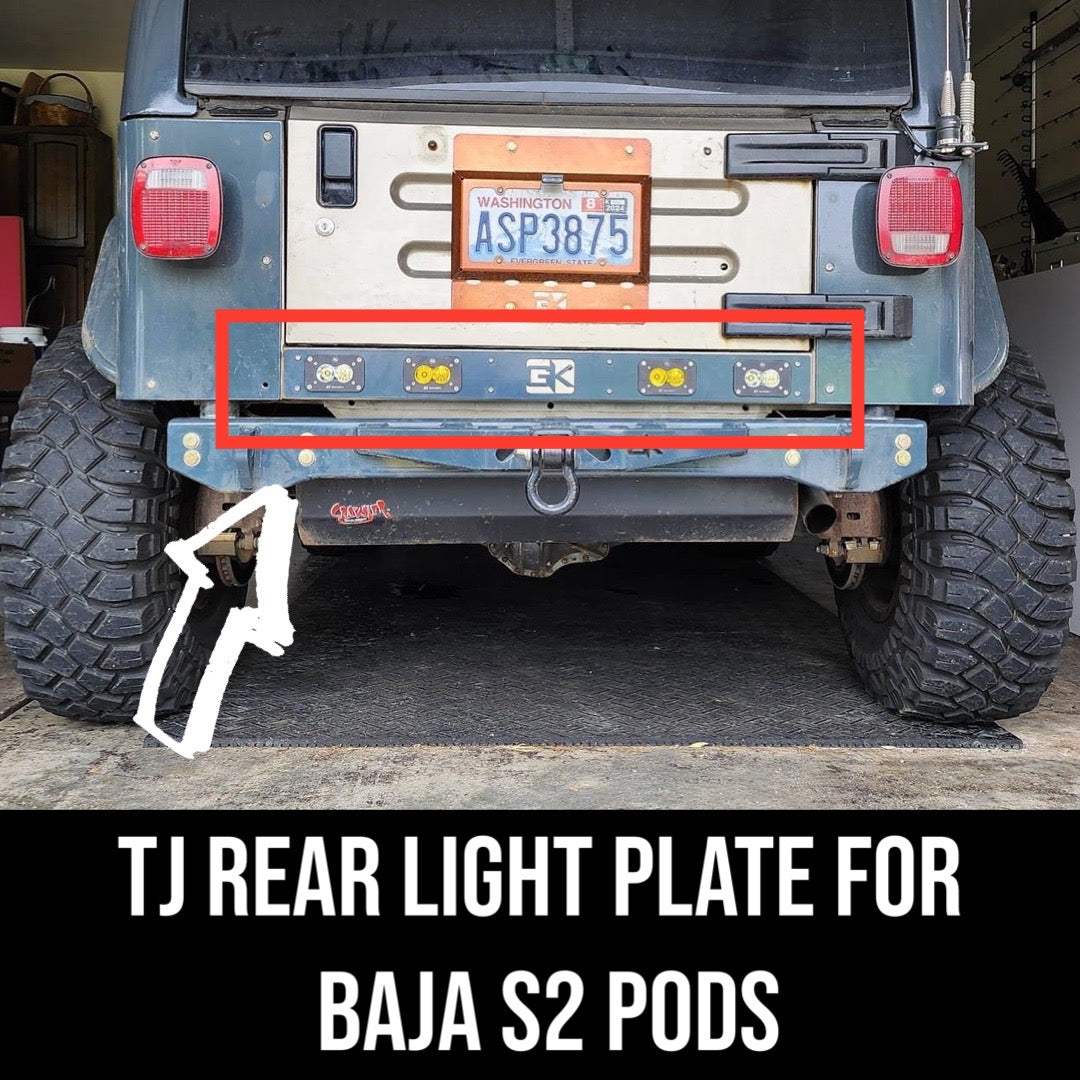
Baja S2 Rear Light Plate Mount for Jeep TJ Wrangler
Baja S2 Rear Light Plate Mount for Jeep TJ Wrangler
SKU:TJBS2LP-GK
Low stock: 5 left
- Save 5% When You Bundle with Lights -See Below
Couldn't load pickup availability
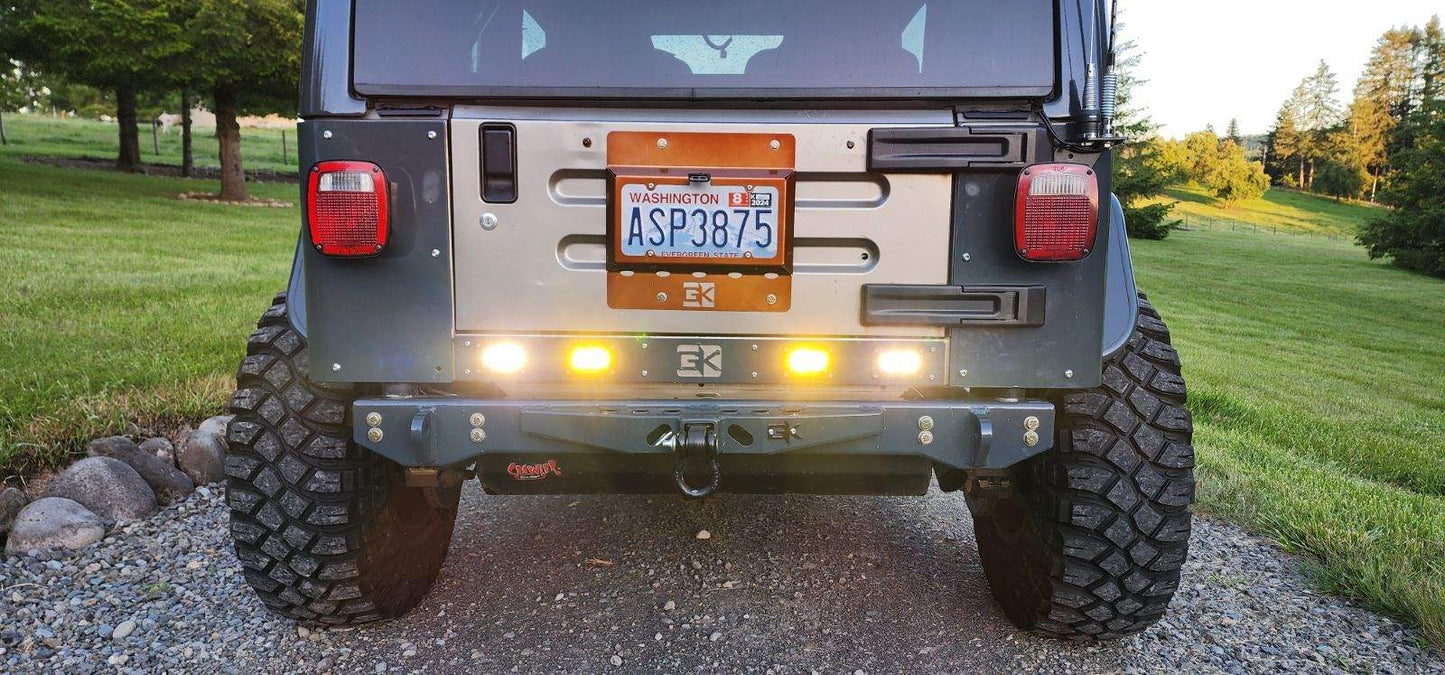
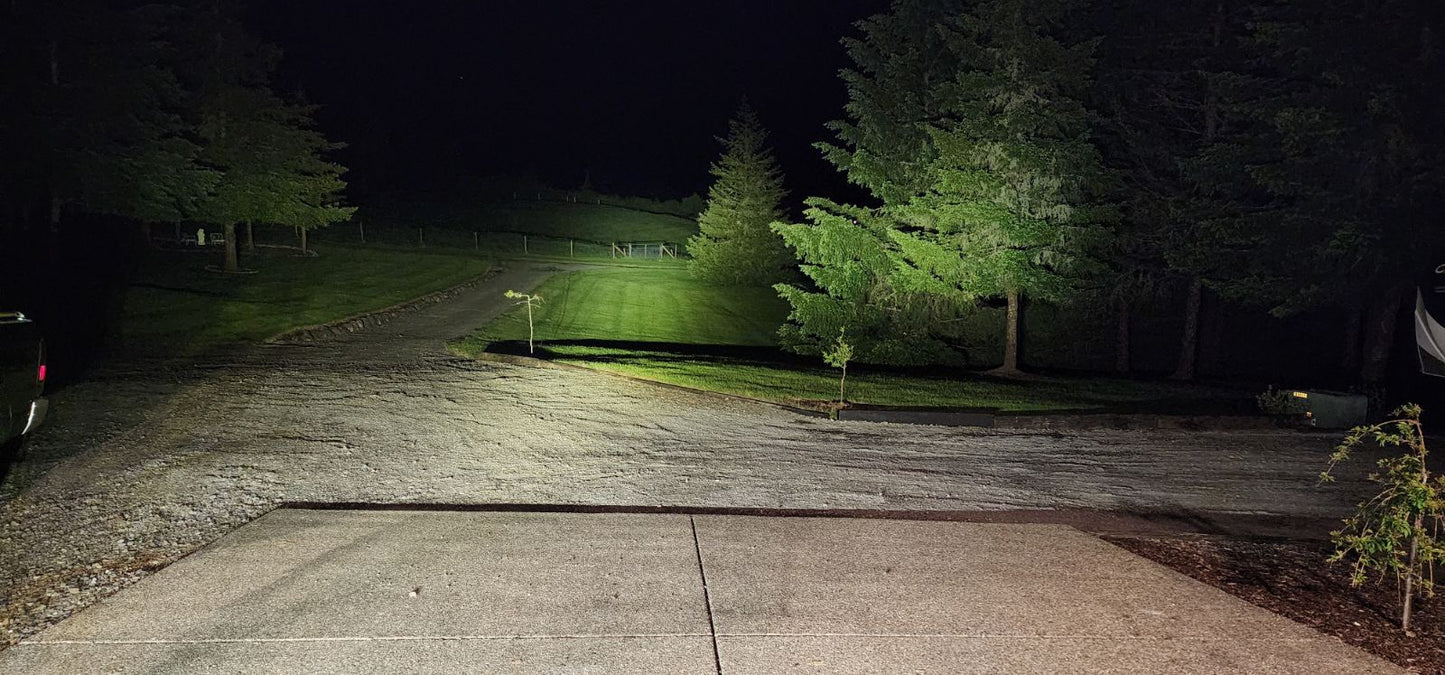
Enhance your off-roading experience with the TJ Rear Light Plate for Baja S2 Pods. This plate is specifically designed for Baja S2 pod lights, adding extreme rear visibility to your vehicle. Perfect for backup lighting, it's a must-have for any adventure seeker.
*Lights Sold Separately
FEATURES:
- Made from Heavy Duty 7 Gauge Steel
- Comes Bare Steel
- Direct fit for Baja S2 Lights (x4)
- Requires Cutting Stock Body Panel
- Comes with Stainless Hardware
Share
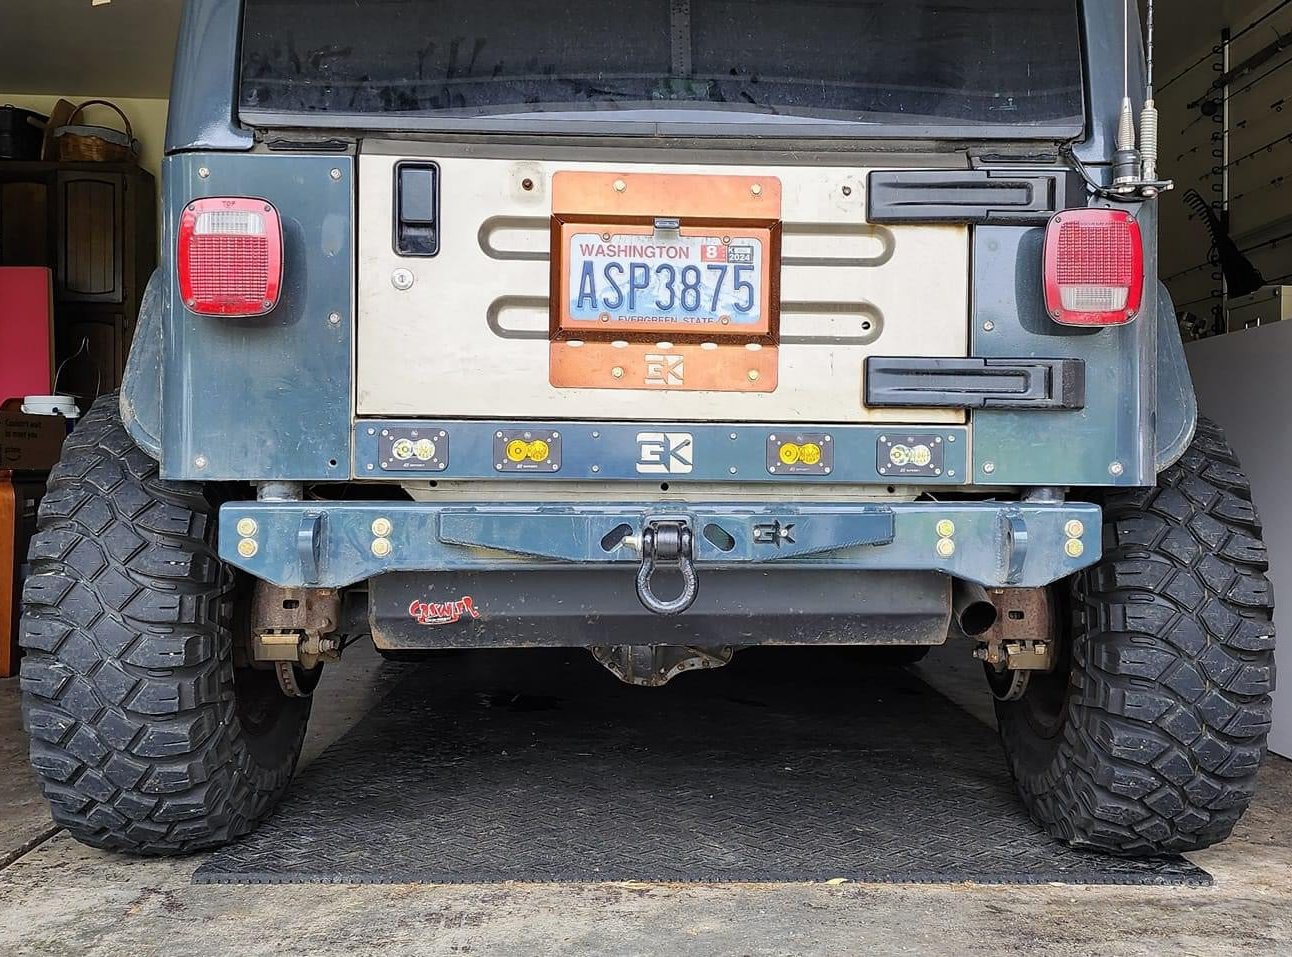
This is a precision-made product that is of the highest quality. All the cuts are computer generated and appear to be laser cut; there are no ruff edges. As stated on the website, it is bare metal, so I had mine powder coated to match the rest of the armor and bumper. It fits perfectly below the tailgate body lines, while adding one of the best rearward lightings in the market. I think it looks killer and adds so much functionality to the Jeep! After only a couple days of having them on and one trip to town, I’ve already had several people come up to the vehicle and comment on how rad they looked!
Installation is simple for anyone who has a jeep and pulls a few wrenches on it. It does require a couple of special tools to make it fast and easier. My tool list included a Drill, Reg bits, Step bit, Jig saw with Metal blade, Air grinder w/Burr bit, Allen bits for drill, crimper, file, tape, black magic marker, and a Doyle Rivet Nut Installer (harbor freight) or any other brand.
The kit comes with an installation template paper you trace the light plate onto, but I didn’t do that. I just used painters’ green tape to hold the plate in place while I traced the light and bolt holes directly on the body. There are 8 plate mounting holes, 16 smaller light mounting holes to drill, plus the 4-rectangle light mounting holes. For the Rectangle light holes, I drilled two larger holes kitty corner for the cutout, and then used the Jig saw to square it out. Use the step bit to enlarge the 16 light mounting holes to a ½ inch or whatever it takes to make the hole look like 4ears on the rectangle. This is required as the lights need to bolt to the plate before you install the plate in the final assembly, no bolt nut rear access from the jeep. Fine tune the hole using the Burr bit and file.
I then installed the Rivet nuts using the nut installer; very simple. Next, I test-fit the plate and marked any place the metal may have been extending into the light holes, as the lights fit snug on the plate. Again, you can’t have any metal past the plate edge. I had to touch up a few spots.
Next take your plate to a work bench and install all 4 lights. You will have to make an electrical harness and crimp the included Deutsch style connector to complete the other end of the pigtails for each light. You’ll also have to figure out how you are going to power and switch your system on and off. I won’t go into that on here, as there are so many options. Once you have that done, mount it back on the Jeep and be dressed to impress the next time you’re in a tight spot and must back up! Bryant
Thank you for the feedback and explaining the install process! Glad you love it!
Did you find everything you need?
-

Compatible Lights & Accessories
Lights recommended for use with our Steerable Fog Light Mounts (aka Knuckle...
